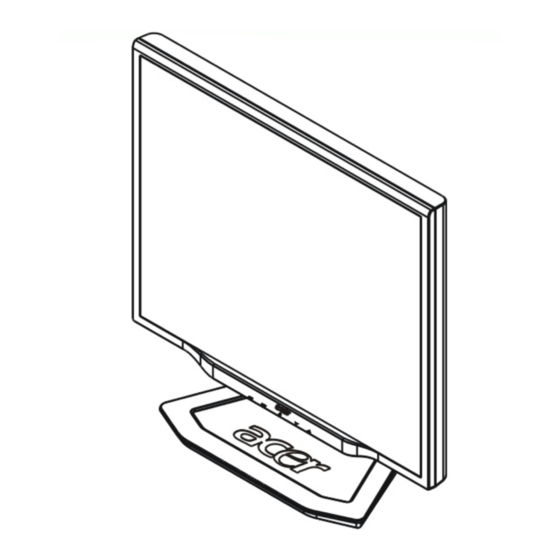
Acer LCD monitor Quick Start Manual
Hide thumbs
Also See for LCD monitor:
- User manual (31 pages) ,
- Quick start manual (12 pages) ,
- Manual (9 pages)
Advertisement
Quick Links
Acer LCD monitor quick start guide (QSG)
Important safety instructions
Please read the following instructions carefully. This manual should be retained for future use.
1. To clean LCD monitor screen:
•
Power-off the LCD monitor and unplug the AC cord.
•
Spray a non-solvent cleaning solution onto a rag and clean the screen gently.
2. Do not place the LCD monitor near a window. Exposing the monitor to rain water, moisture or sunlight can severely
damage it.
3. Do not apply pressure to the LCD screen. Excessive pressure may cause permanent damage to the display.
4. Do not remove the cover or attempt to service this unit yourself. Servicing of any nature should be performed by an
authorized technician.
5. Store the LCD monitor in a room with a temperature of -20° – 60 °C (or -4° – 140 °F).
Storing the LCD monitor outside of this range may result in permanent damage.
6. If any of the following occurs, immediately unplug your monitor and call an authorized technician:
• Monitor to PC signal cable is frayed or damaged.
• Liquid has spilled into LCD monitor or the monitor has been exposed to rain.
• The LCD monitor or case is damaged.
Package contents
LCD monitor
Power cord
Connecting the monitor to the base
1. Take out the monitor base from the monitor box and place it on a stable and
level workspace.
2. Take out your monitor and connect it to the base. Make sure you heard a clicking
sound.
Connecting your monitor to a computer
Pull out the pin from the display support frame as per the figure and then adjust the height. Note that upon pulling out the pin, erect the machine on
the table to prevent the top part of the display from ejecting.(Only h / r model)
1. Turn off your computer and unplug your computer's power cable.
2. Connect the signal cable to the VGA input socket of the monitor, and connect the signal cable to
the VGA output socket of the graphics card on the computer. Then tighten the thumbscrews on
the connector.
3. Connect the signal cable to the DVI-D input socket of the monitor, and connect the signal cable
to the DVI-D output socket of the graphics card on the computer. Then tighten the thumbscrews
on the connector.
4. Connect the audio input socket (AUDIO IN) of the LCD monitor and the computer by means of
the audio cable.
5. Insert the monitor power cable into the power port on the back of the monitor.
6. Plug the power cables of your computer and your monitor into a nearby electrical outlet.
7. Switch on the hard-switch on the backside of monitor and turn on your computer.
External controls
Audio cable
VGA cable
If the OSD is active, press Auto to exit a selection in the OSD. If OSD is inactive,
1
Auto
Auto
press Auto and the monitor will automatically optimize the display position,
focus, and clock of your display.
<
If the OSD is active, press the Minus or Plus buttons to toggle between the OSD
Minus /
options. If the OSD is inactive, press Minus or Plus buttons to adjust the volume.
2/3
/
>
Plus
OSD
4 Menu
Press to view the OSD. Press again to enter a selection in the OSD.
functions
Power on/off
5
Power
Green: power on
Orange: in sleep mode
DVI cable
User's Guide
(CD)
English
Quick Start Guid
Advertisement


