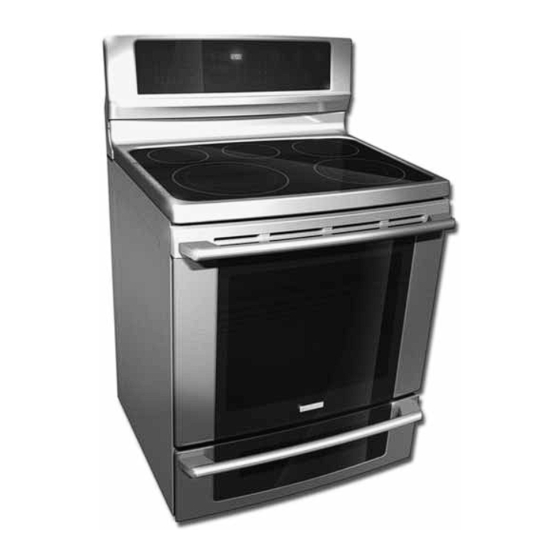
Summary of Contents for Frigidaire EI30EF55GSA
- Page 1 Installation Instructions 30” Free-Standing Electric Range Instrucciones de Instalacion Estufa Electrica de 30" 316454909...
- Page 2 station...
-
Page 3: Important Safety Instructions
INSTALLATION INSTRUCTIONS FOR FREESTANDING ELECTRIC RANGE INSTALLATION AND SERVICE MUST BE PERFORMED BY A QUALIFIED INSTALLER. IMPORTANT: SAVE FOR LOCAL ELECTRICAL INSPECTOR'S USE. READ AND SAVE THESE INSTRUCTIONS FOR FUTURE REFERENCE. Clearances and Dimensions 1. Provide adequate clearances between the range and adjacent combustible surfaces. 2. -
Page 4: Before Starting
INSTALLATION INSTRUCTIONS FOR FREESTANDING ELECTRIC RANGE BEFORE STARTING 3/16" pilot hole 1-3/4" deep. The screws provided may be used Tools You Will Need in wood or concrete material. Use a 5/16" nut-driver or flat head screwdriver to secure the bracket in place (See Fig. 6). For leveling legs and Anti-Tip Bracket: 1c. -
Page 5: Power Cord Connections
INSTALLATION INSTRUCTIONS FOR FREESTANDING ELECTRIC RANGE 2b. MODELS REQUIRING POWER SUPPLY CORD KIT. RISK OF FIRE OR ELECTRICAL SHOCK MAY OCCUR IF AN INCORRECT SIZE RANGE CORD KIT IS USED, THE INSTALLATION INSTRUCTIONS ARE NOT FOLLOWED OR STRAIN RELIEF BRACKET IS DISCARDED. This appliance may be connected by means of a power supply cord. - Page 6 INSTALLATION INSTRUCTIONS FOR FREESTANDING ELECTRIC RANGE or 4B. POWER CORD CONNECTIONS (3-Wire Connection Instructions . For existing installations ONLY - Refer to Fig. 13). Follow the manufacturer’s installation instructions supplied with the strain relief and install (Also see Figs. 9, 10 & 11). Insert the end connectors for Line 1, Line 2 and Neutral and tighten securely to the terminal block (See Fig.
- Page 7 station...


