Advertisement
Quick Links
Advertisement

Summary of Contents for Samsung FS5515-5001-01
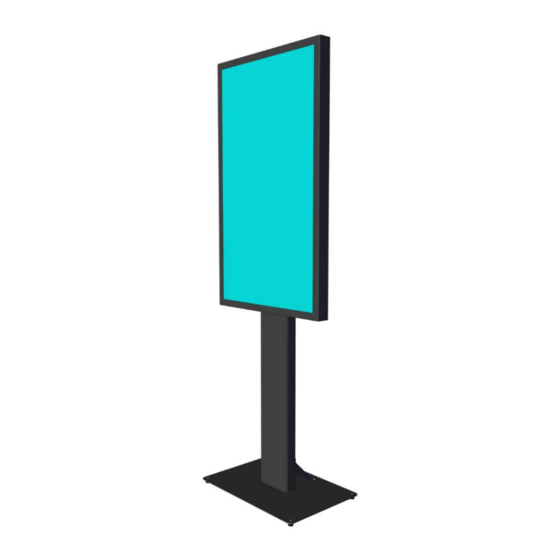
- Page 1 INSTALLATION MANUAL Product nr: FS5515-5001-01 FS5515-5001-02 FS5512-5001-01 FS5512-5001-02...
- Page 2 S2 M6 (4x) S3 M4 (8x)
- Page 3 1.Start with the bottom plate 2.Attach the feets with screws from the top of the bottom plate...
- Page 4 3.Image of screws attached to the bottomplate 4.Connect the pillar to the bottom plate...
- Page 5 5.Connect the backside plate to increase stability 6.Connect the backside plate to increase stability...
- Page 6 7.Connect the hatch inside the pillar if external equippment is needed 8.Hatch and pillar is now finished...
- Page 7 9.Attach the mount to the pillar 10. Image to show the mount connected to the pillar...
- Page 8 11.Connect the VESA brackets to the screen 12.Screen can now be attached to the floorstand...
- Page 9 13.Floorstand Universal glass is now finished. Follow the guide below for information how backcover and frontcover are connected 14.Connect the backcover...
- Page 10 15.Backcover is now connected 16.Floorstand with backcover is now finished. Follow the guide for installation of frontcover...
- Page 11 17.Frontcover is attached to the front of the screen 18.Screws are connected on top...
- Page 12 19. Screws are connected to the bottom 20.Floorstand glass with frontcover and backcover is now finished...


