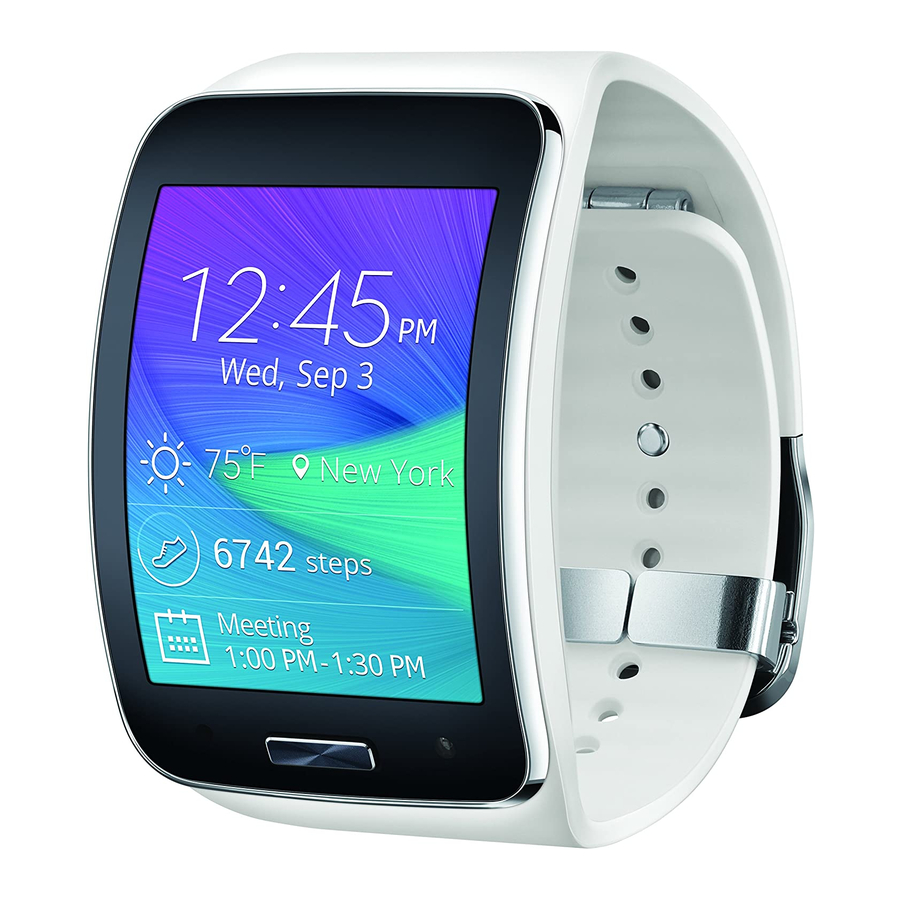
Samsung Gear S Quick Reference Manual
Hide thumbs
Also See for Gear S:
- User manual (126 pages) ,
- Quick reference manual (21 pages) ,
- Experience manual (11 pages)
Table of Contents
Advertisement
Quick Links
Download this manual
See also:
User Manual
Advertisement
Table of Contents

Summary of Contents for Samsung Gear S
- Page 1 QUICK REFERENCE MANUAL Need more help? Go to www.samsung.com/us/gearsupport...
-
Page 2: Device Functions
Device Functions Power/Home SIM card cover Speaker Heart rate sensor Charging terminals Microphone... -
Page 3: Water And Dust Resistance
Water and Dust Resistance This device is rated IP67 using the Ingress Protection rating system. Your device has been tested in a controlled environment and shown to be water and dust resistant in certain circumstances (meets requirements of classification IP67 as described by the international standard IEC 60529 - Degrees of Protection provided by Enclosures [IP Code];... - Page 4 • Whenever your device gets wet, dry it thoroughly with a clean, soft cloth. • Do not expose the device to salt water or ionized water, or to water over 1 meter deep for more than 30 minutes. If your device is exposed to fresh water, dry it thoroughly with a clean, soft cloth.
-
Page 5: Step 1. Installing The Sim Card
Setting Up Your Gear S Step 1. Installing the SIM card 1. Remove the SIM card cover, with the SIM ejector tool that is included in the box. SIM ejector tool NOTE: Do not use other objects to open the SIM card cover. -
Page 6: Step 2. Charging The Gear S
Step 2. Charging the Gear S 1. Carefully place the Gear S on the charging dock with the charging terminals facing each other and connect to the charger. Charging dock with battery Charging Port Charging terminals Caution!: Use the Samsung charger that came with your device. - Page 7 NOTE: The charging dock can be used as a backup charger, simply connect it to your Gear S (no cable needed). The charging dock automatically charges while the Gear S is charging or can be charged independently without the...
-
Page 8: Extending Battery Life
Location when they’re not needed. To access settings, swipe up from the bottom of the screen, and tap Settings g Connections Step 3. Turning Your Gear S On and Off To turn ON, press and hold the Power/Home key. •... - Page 9 Wearing the Gear S 1. Release the clasp and fit the strap to your wrist. 2. Use the pin to adjust the length of the strap. 3. Press the clasp together to fasten the strap.
- Page 10 ©2014 Samsung Telecommunications America, LLC. Samsung, Gear, are all trademarks of Samsung Electronics Co., Ltd. Bluetooth is a registered trademark of Bluetooth SIG. Other company and product names mentioned herein may be trademarks of their respective owners. Screen images simulated.
- Page 11 NOTE: When you establish a connection, the smartphone prompts you to sign into your Samsung account. You must sign into your Samsung account to connect remotely, this will allow the Gear S to receive notifications and calls from your smartphone.
-
Page 12: Connection Modes
Connection modes via Bluetooth – The Gear S is connected to the • smartphone by Bluetooth. The Gear S will receive notifications and calls from the connected smartphone and can use all of the Gear and Gear Manager functions. Connected remotely* – The Gear S is not •... -
Page 13: Home Screen
Home Screen Moments Bar From the clock screen swipe the screen down to view the notification panel. Quickly forward calls, adjust volume, display brightness and Do not disturb feature. Opening the Apps screen From the home screen, drag the screen upwards from the bottom edge to open the Apps screen. -
Page 14: Returning To The Previous Page
Returning to the previous page • While using an app, drag the screen down to return to the previous page. -
Page 15: Viewing Notifications
Viewing Notifications From the home screen, drag the screen to the right to view notifications. Viewing Widgets From the home screen, drag the screen to the left to view widgets. -
Page 16: Double Tap
Double Tap Double tap any screen with two fingers to view the brightness and volume controls. You can also view information, such as the mobile network and battery strength. -
Page 17: Making A Call
Gear S. Ensure that the Gear is connected to the smartphone to enable call forwarding. 1. From the Apps screen, tap Settings → Call → Mobile to Gear → OK. 2. Tap Turn on → Yes. NOTE: Gear S must be connected via Bluetooth to use call forwarding. -
Page 18: Sending A Message
2. Tap a messsage. 3. To reply to a message, tap and then tap NOTE: If a Bluetooth connection between the he Gear S and smartphone is not available, messages will be sent from the Gear S phone number. - Page 19 1. Using your smartphone, from the home screen tap Apps → Samsung Gear → Notifications. 2. Slide the Notification slider to the right to turn it on 3. Tap Manage notifications to select which alerts will display on your Gear S.
- Page 20 Customize ¬ Using your smartphone, from the home screen tap Apps → Samsung Gear → Home screen styler. • Tap the Wallpapers tab to change the look of the home screen. • Tap the Clock tab to change the look of the...


